ULTIM8™ JIG Kit for xTool F2 Ultra / F2 Ultra UV
USA Customers Get Free Shipping for Orders Over $200
Couldn't load pickup availability
Product Details
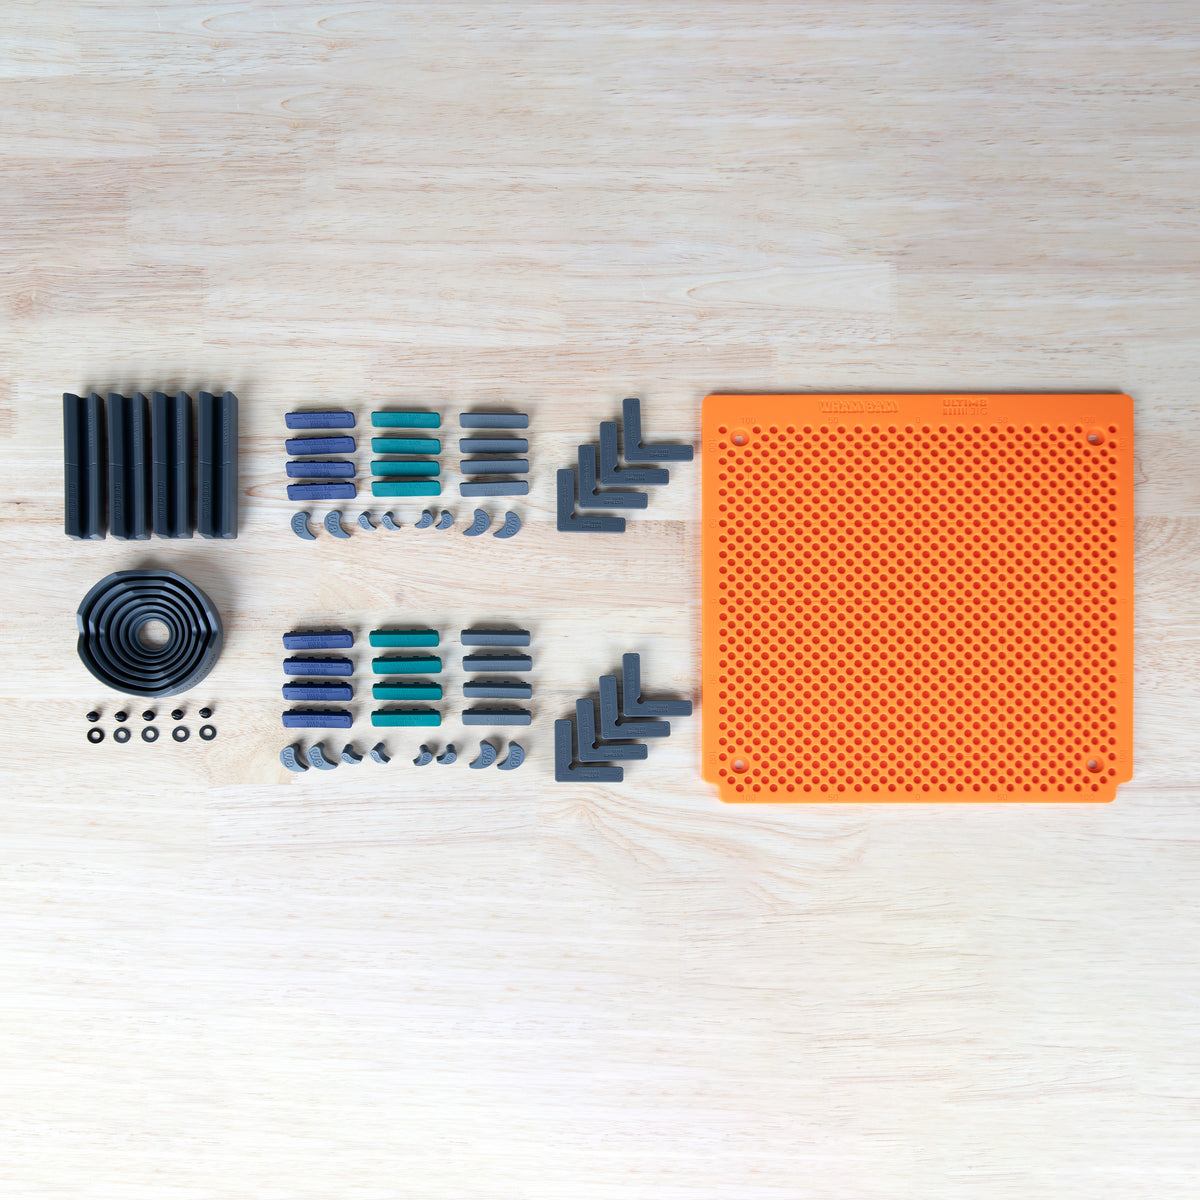
Build a batch layout for your xTool F2 Ultra or F2 Ultra UV, then keep the job moving. The ULTIM8™ JIG pairs a machine-specific silicone MAT with 53 fixtures and cam locks to position larger workpieces or multiple blanks for repeat engraving.
The MAT has inset mounting holes and attaches to the machine using the included M4 screws and washers. Arrange the FIXTURES around your workpiece, then add CAM LOCKS where you need holding pressure.
Once the layout is established, swap each finished piece for a matching blank and repeat from the same reference points. For two-sided work, arrange the fixtures to locate the part after flipping, then check alignment before engraving.
Key features
-
Machine-specific silicone MAT for xTool F2 Ultra / F2 Ultra UV
-
Inset mounting holes with included screws and washers
-
Medium Fixture and Cam Lock Set with both 5.0 and 2.4 series components
-
Universal fixture for round workpieces, plus 4 rod fixtures for cylindrical blanks
-
Modular components that can be repositioned for different jobs
-
Supports repeat engraving and multi-part layouts
What’s included
-
1 F2 Ultra / F2 Ultra UV silicone MAT
-
1 UNIVERSAL FIXTURE
-
4 ROD FIXTURES
-
4 5.0 L FIXTURES
-
4 5.0 5/5 FIXTURES
-
4 5.0 6/4 FIXTURES
-
4 5.0 7/3 FIXTURES
-
4 2.4 L FIXTURES
-
4 2.4 5/5 FIXTURES
-
4 2.4 6/4 FIXTURES
-
4 2.4 7/3 FIXTURES
-
8 5.0 CAM LOCKS
-
8 2.4 CAM LOCKS
-
5 M4 screws and 5 washers
53 fixtures and cam locks, 1 MAT, and 10 mounting-hardware pieces: 64 functional pieces total. Packaging and printed inserts are not included in this count.
Compatibility
Designed for xTool F2 Ultra / F2 Ultra UV. Fixtures are compatible across the ULTIM8 JIG lineup for UV printers and laser engravers, including Morpho. Base MATS are machine-specific.
Laser engraver and workpieces are not included.
Setup and use
Fit the MAT to the machine using its inset mounting holes and the included screws and washers. Position the workpiece and arrange FIXTURES and CAM LOCKS around it. Check the layout and laser focus before running a batch.
Keep fixture components and mounting hardware outside the active laser path. Avoid cutting directly into the MAT. Follow your laser manufacturer’s operating instructions.