


ULTIM8™ JIG Support
Kit contents, installation instructions, calibration and 3D printable fixtures.
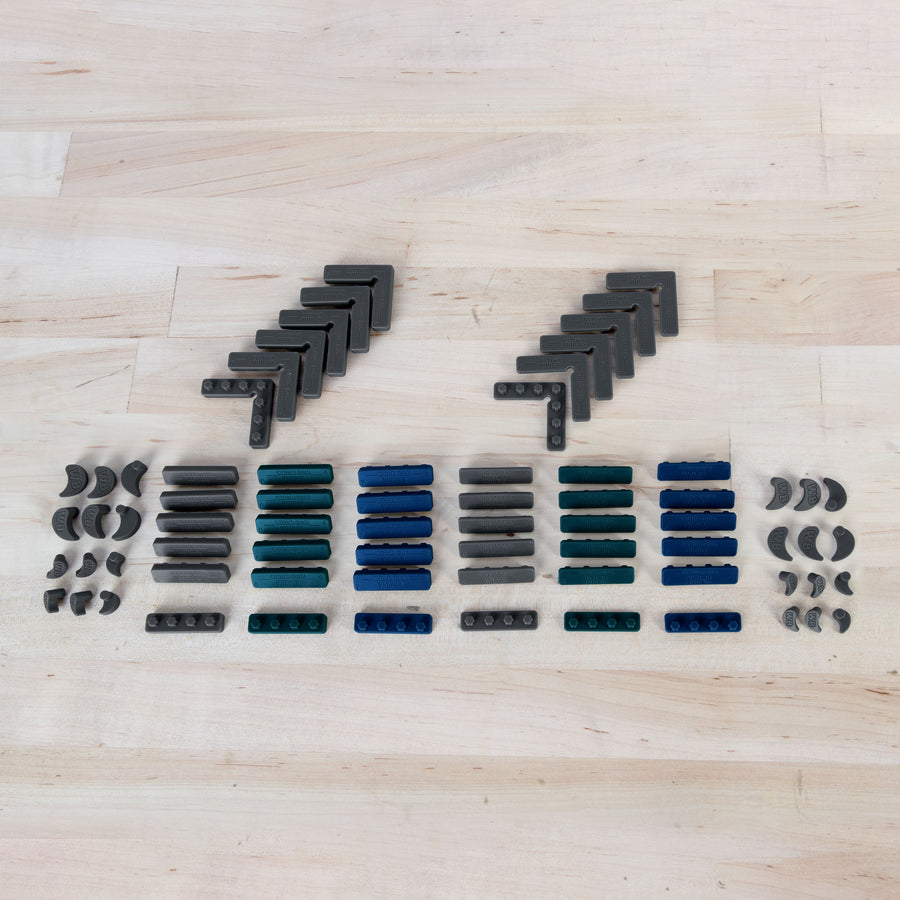
Kit contents
| Feature |
ULTIM8™ JIG DOUBLEBest for users with more than one eufyMake E1
|
ULTIM8™ JIG DELUXE KITBest for production users filling the bed with fixtures and printing many objects at onceView kit
| |
|---|---|---|---|
| XL MAT | 1 pc | 2 pcs | 1 pc |
| MINI MAT | 1 pc | 2 pcs | 1 pc |
| SPRING CLIPS | 6 pcs | 12 pcs | 6 pcs |
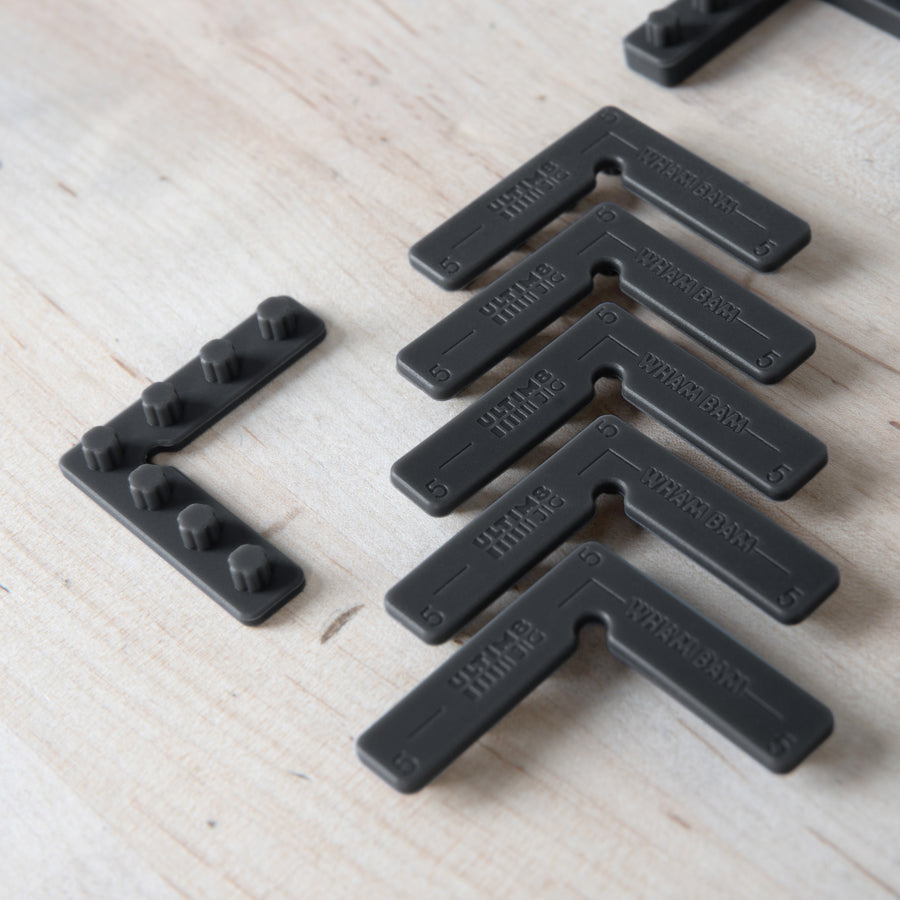
| 5.0 FIXTURES | 24 pcs | 48 pcs | 48 pcs |
| 2.4 FIXTURES | 24 pcs | 48 pcs | 48 pcs |
| 5.0 CAM LOCKS | 12 pcs | 24 pcs | 24 pcs |
| 2.4 CAM LOCKS | 12 pcs | 24 pcs | 24 pcs |
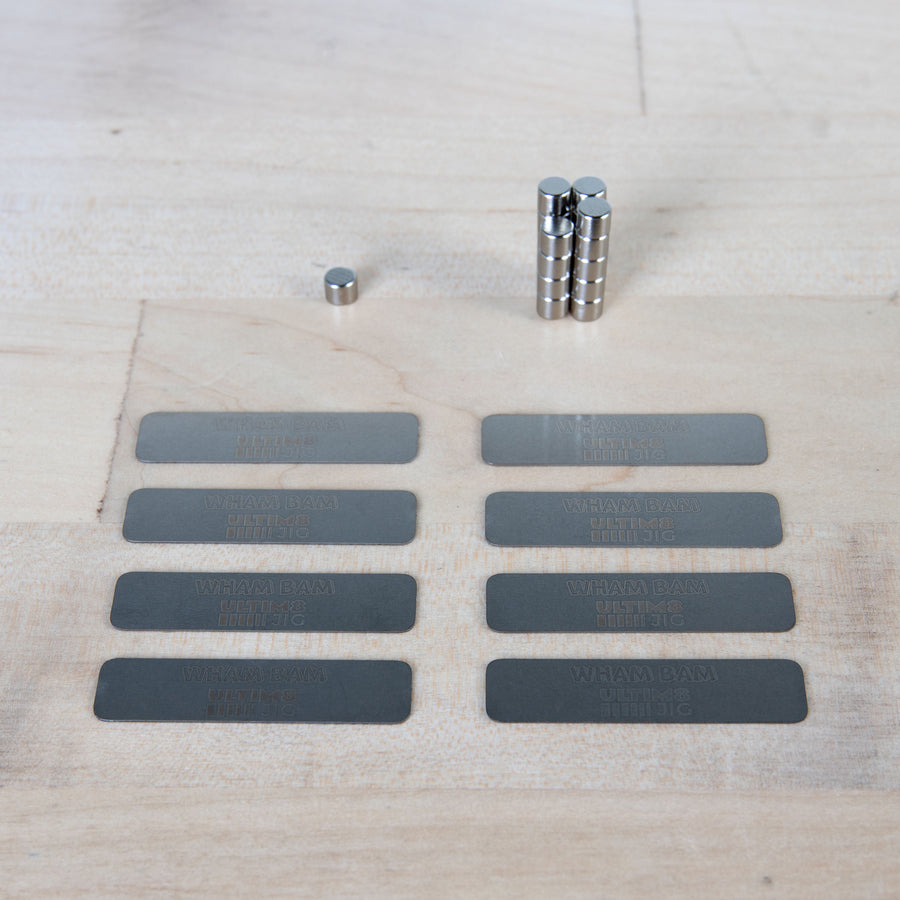
| BACKING PLATES | 8 pcs | 16 pcs | 8 pcs |
| NEODYMIUM MAGNETS | 20 pcs | 40 pcs | 20 pcs |
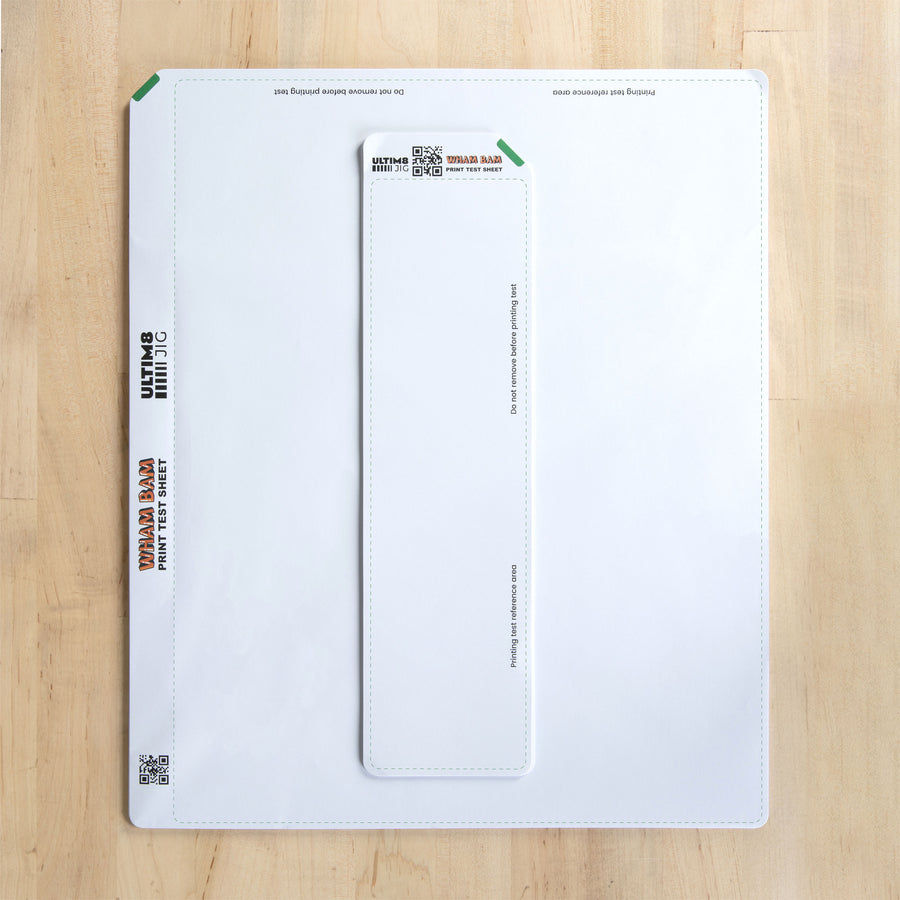
| XL CALIBRATION SHEETS | No | No | 10 pcs |
| MINI CALIBRATION SHEETS | No | No | 10 pcs |
Extras

Setup and install instructions
- Step 1
Place the MAT
Setup is simple: remove your bed, leave or remove the original sticky mat, place the ULTIM8™ JIG MAT on top, align it, and swing the SPRING CLIPS into place.
- Step 2
Arrange FIXTURES
Arrange FIXTURES as needed to position your parts.
- Step 3
Add CAM LOCKS
Use FIXTURES alone or in combination with CAM LOCKS.
Spring Clip installation
Important: follow the Spring Clip Installation Guide or the video.

If you get a grinding sound during use with your JIG, check that the Spring Clips are pushed in all the way and flush with the sides of the Eufy bed.

ULTIM8 JIG Spring Clip Quick Installation Video
Which FIXTURES to use
Make sure your parts are no more than 2 mm below the highest point of any fixture.
- Parts ≥ 1.5 mm
- Use 2.4 FIXTURES
- Parts > 4 mm
- Use 5.0 FIXTURES
- Parts less than 1.5 mm
- Use BACKING PLATES AND MAGNETS
- Overspray
- Peels off easily with a fingernail, by flexing the MAT, or even with heavy-duty packing tape.
IMPORTANT: Center Magnet "Keep Out Zone" - eufyMake E1 Compatibility
The eufyMake E1 contains a large internal magnet located at the center of the build area. This magnetic field can interfere with ULTIM8 JIG Magnets and Backing Plates and with any ferrous (steel-based) objects.
Keep-Out Requirement: please maintain a 60 mm (2.5 inch) wide "Keep Out Zone" centered on the build area. If unsure, use the width of the E1 door handle as reference.
- Do not place magnets or backing plates within this zone
- Keep all ferrous materials outside this central strip
- Position your setup so all magnetic components remain beyond ± 30 mm from centerline
Why this matters: placing magnets inside this zone may result in loss of positioning accuracy, unexpected attraction or shifting, and reduced effectiveness of the JIG system.
Machine calibration
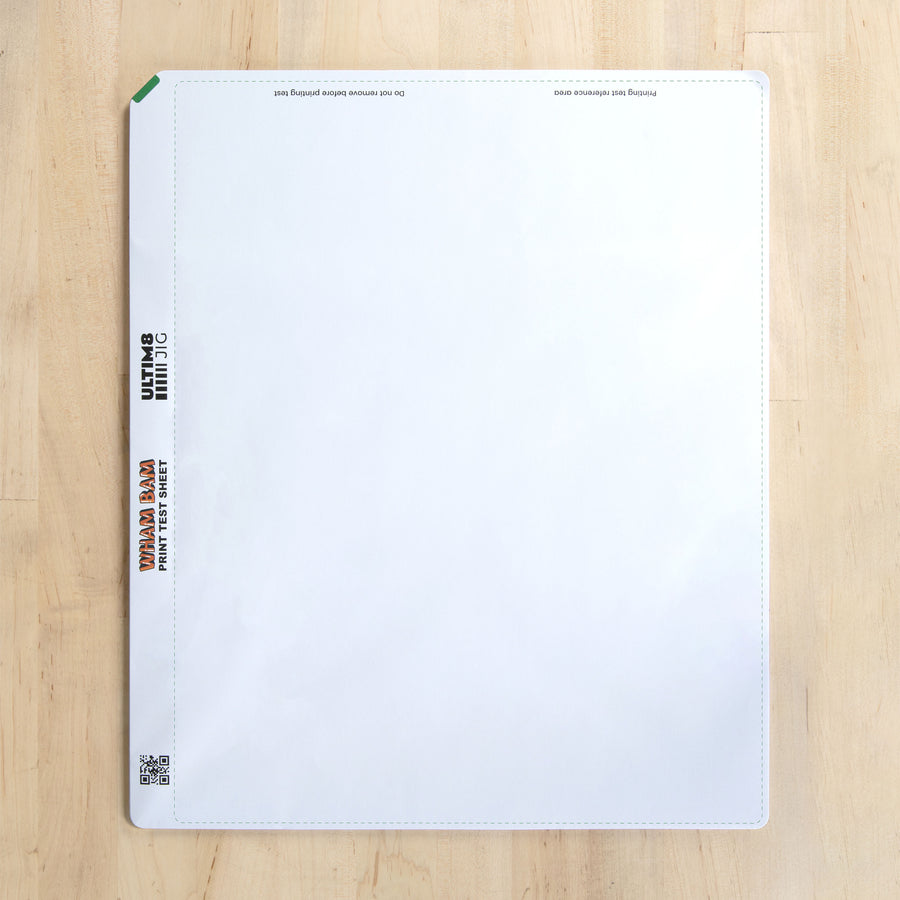
No need to calibrate your machine for use with our ULTIM8™ JIG, unless you care to. Simply calibrate the bed without the MAT as usual. If you would also like to run a print calibration on top of the mat, just lay one of our CALIBRATION SHEETS over the MAT and run the print calibration routine.
Using Calibration Sheets with Magnets and Backing Plates
When using Calibration Sheets together with our Magnets and Backing Plates, place magnets carefully to avoid interference with your print area, registration marks, and machine-specific magnetic keep-out zones.
For best results, position magnets around the outer edges of the Calibration Sheet where they provide secure hold-down without obstructing calibration targets or printing operations. Please refer to our placement diagram for ideal magnet locations, print-safe areas, and magnet keep-out zones.
Downloads

Zero Point Calibration Guide

Keep Out Zone
Center magnet keep-out zone on the eufyMake E1.

Spring Clip Installation Guide

Magnet placement diagram for Calibration Sheets
Ideal magnet locations, print-safe areas, and magnet keep-out zones.

3D printable fixtures
Guides and downloadables hosted on Cults3D, Printables and GitHub.
-
Fixture Design Guides
Guides and downloadables for designing your own fixtures.
-
X0 Y0 Alignment Fixture
3D printable individual X0 Y0 Alignment fixture that fits into our MATS.
-
Fixture Caddy
3D printable caddy for organizing your FIXTURES, CAM LOCKS, accessories.
-
Pen Fixture
3D printable individual pen holder that fits into our MATS.
-
Printable Lower Mini Bed
Model of eufyMake standard bed with reduced height.
-
Golf Ball Fixture
3D printable individual golf ball holder that fits into our MATS.
-
Bottle Opener Fixture
3D printable individual bottle opener holder that fits into our MATS.
-
Improved Bottle Opener Fixture
3D printable individual bottle opener holder that fits into our MATS.
-
Shot Glass Fixture
3D printable individual shot glass holder that fits into our MATS.
-
Slap Bracelet Fixture
3D printable individual slap bracelet holder that fits into our MATS.
-
40mm Coin Fixture
3D printable individual coin fixture that fits into our MATS.

Gridfinity version of caddy